0003: Add a Button (Imperative)
This is another imperative example, actually two imperative examples. Next time, we’ll look at the OOP method of adding a button.
First Button


The code is based on the imperative test rig and only needs a few extra lines to get a button to show.
import gtk.Button;
import gdk.Event;
Line 1: In order to work with buttons, we’ll need access to button routines and we have to import them.
Line 2: To work with signals evoked by events, we need Event routines, naturally.
Note: Make sure that second character is a ‘d’ and not a ‘t.’
Then these three lines are added after setting up the test rig window:
Button button = new Button("Label Text");
button.addOnClicked(delegate void(Button b) { quitApp(); });
testRigWindow.add(button);
Breakdown:
- the first line creates the button,
- the second hooks up a signal, and
- the third adds the button to the window.
But that second line needs a bit of explanation…
The signal we’re connecting this time is onClicked, the signal signifying that a mouse button has been clicked by the user. This signal doesn’t distinguish between the buttons, so any clicked button will do (we’ll talk about how to distinguish between them in a later post).
And there’s that delegate again. As I mentioned before, when a function doesn’t exist as part of an object (and therefore doesn’t appear in a class definition) the scope of the variables within the function need to be preserved somehow so they don’t get tossed out by the garbage collector before we need them. And that’s what the delegate keyword does.
The callback function definition appearing after the delegate keyword says, in a nutshell:
- the callback will return void,
- the callback takes a GTK
Buttonobject as its first argument, and - the callback is named
quitApp().
And that’s it. We only need those few lines to add a working button and give it something to do.
You’ll notice that the in-window button carries out the same action taken by the window’s close button. I’ve chosen to illustrate this because it’s an example of getting two UI elements to do the same thing, but with a bit of thought, you’ll be able to define a second callback function and subsequently pointing a UI element at it instead.
As with all examples, to compile:
dmd -de -w -m64 -Lgtkd.lib <filename>.d
Second Button


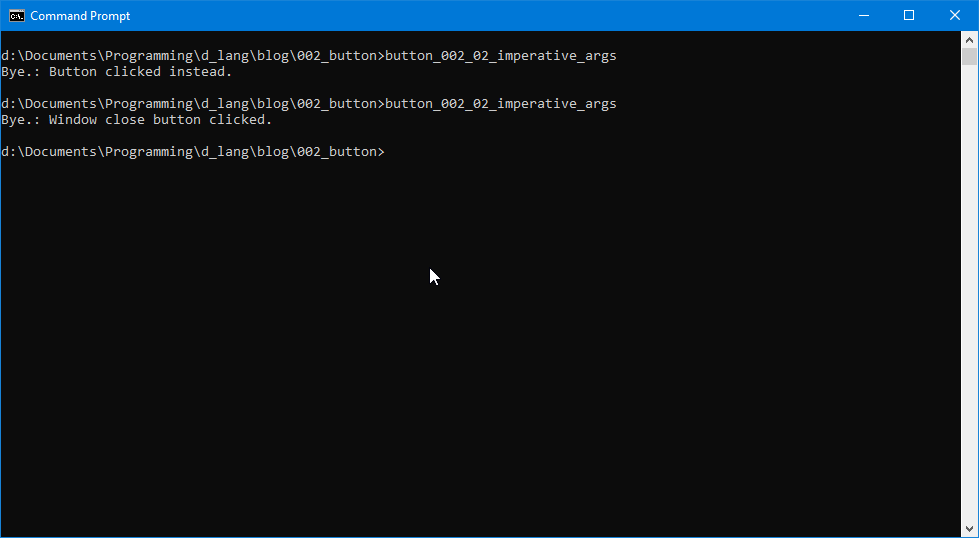
The difference between the first code example and the second is that now we’re going to set up the quitApp() function to tell us which button got us there, the window’s close button or the UI button.
To get there, we don’t need to change much:
- we define two message strings, each of which we’ll hand over to a button which will pass along to the callback function,
- when we hook up the button signals to the callback, tell each which message they’ll be passing along,
- in the
quitApp()definition, we tell it to expect a string argument, and - also tell
quitApp()to tack this extra text onto the end of it’s exit message.
Message Strings
Pretty straightforward, define two strings. One mentions the window’s close button, and the other mentions the UI button.
Signal Hook-ups
And this is the interesting part of our second button example. When we hook up the onDestroy signal, we pass an argument along to the callback. Here’s what it looks like:
myTestRig.addOnDestroy(delegate void(Widget w) { quitApp(message); } );
All we had to do was put one of the string variables between the brackets. And the other signal hook-up is very much the same, just with a different variable name and a different signal:
button.addOnClicked(delegate void(Button b) { quitApp(otherMessage); });
Changes to quitApp()
Right at the top, you can see that quitApp() now expects a string argument:
void quitApp(string message)
And further down:
writeln(“Bye.”, message);
spits out its original message along with the new message passed in.
And that’s it.
Conclusion
Here we are at the end of another gtkDcoding post. So long until next time. Happy D-coding and may the widgets be with you.
Comments? Questions? Observations?
Did we miss a tidbit of information that would make this post even more informative? Let's talk about it in the comments.
- come on over to the D Language Forum and look for one of the gtkDcoding announcement posts,
- drop by the GtkD Forum,
- follow the link below to email me, or
- go to the gtkDcoding Facebook page.
You can also subscribe via RSS so you won't miss anything. Thank you very much for dropping by.
© Copyright 2025 Ron Tarrant
