0080: Notebook VI - Customized Tabs, Part 2
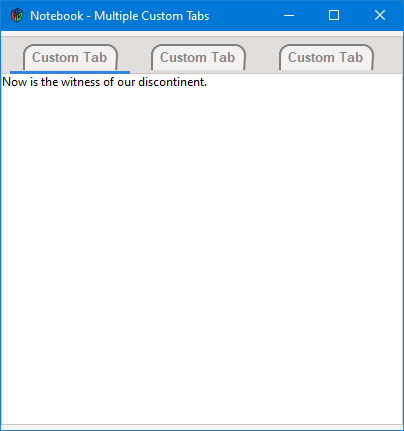
Last time we got started on building customized tabs, so let’s continue, starting with another look at the screen-shot showing our goal:


The Actual Customization
Okay, now we’re getting serious. By stuffing a DrawingArea into the tab, we get to draw whatever we want in there. I opted for a round-shouldered tab shape with the tab’s label text inside it, but you could get all Monty Python and do something completely different.
We’ll go over the drawing code in a later post, but for now, let’s talk about all the prep that needs to be done for the drawing…
In the Class Preamble
int _tabNumber;
Notebook _notebook;
cairo_text_extents_t extents;
GtkAllocation size; // the area assigned to the DrawingArea by its parent
These are:
_tabNumber: a number that identifies the currently-createdNotebookpage/tab,_notebook: a pointer to the parent (theNotebook),extents: how much space a string will take up, andsize: the size of theDrawingArea
The _tabNumber variable originates in the MyNotebook class and is passed down to here. If we were adding tabs dynamically, we would have a mechanism at the MyNotebook level that would automatically increment this number so that each tab has a unique identifier. We’ll see this mechanism in a later post.
In the Constructor
this(string labelText, int tabNumber, Notebook notebook)
{
	_tabNumber = tabNumber;
	_notebook = notebook;
	_labelText = labelText;

	radians = PI / 180.0;

	// map out the shape ofa tab with rounded corners
	northWestArc = [180 * radians, 270 * radians]; // upper-left
	northEastArc = [-90 * radians, 0 * radians]; // upper-right
	cornerRadius = 10;

	addOnDraw(&onDraw);
	addOnButtonPress(&onButtonPress);

} // this()
First, we set up local copies of the values being passed in, define radians, then set up the arrays for drawing the two arcs (rounded shoulders), set the arc radius, and finally, hook up the signals.
Signals and Communications
This is it, the solution to passing a mouse click from the child widget to the Notebook tab. Remember in Blog Post #79 when we talked about harnessing the onSwitchPage signal? Well, here’s the other half of that equation…
In the TabDrawingArea constructor, we hooked up the onButtonPress signal to trigger this callback:
	bool onButtonPress(Event event, Widget widget)
	{
		_notebook.setCurrentPage(_tabNumber);
		int pageNumber = _notebook.getCurrentPage();
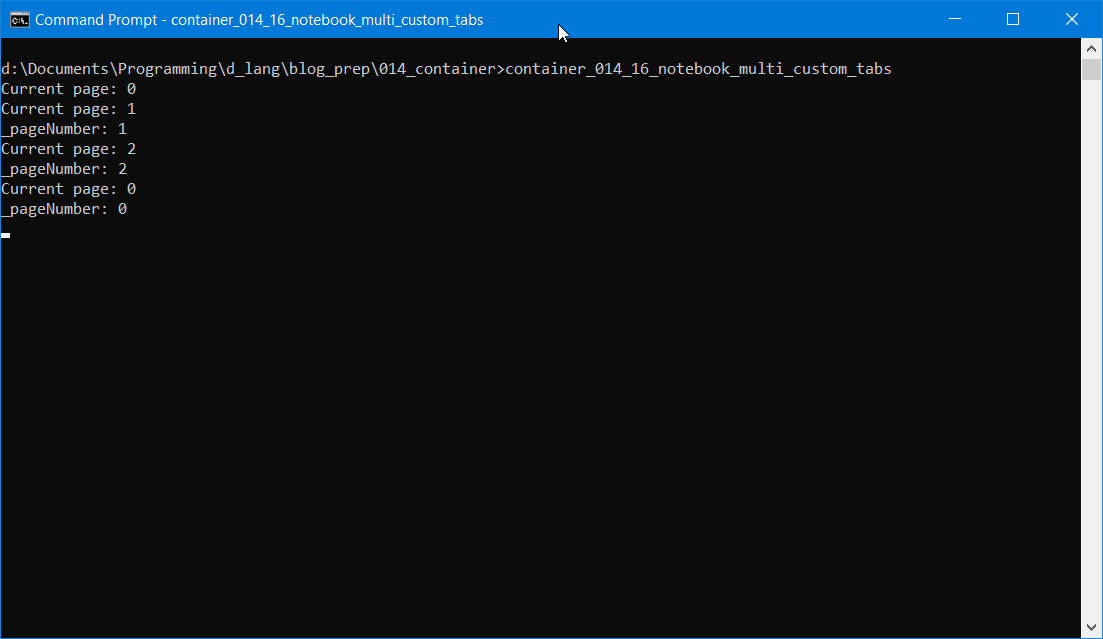
		writeln("_pageNumber: ", pageNumber);

		return(true);

	} // onButtonPress()
Each time the user clicks on our customized tab, this callback triggers and, in turn, reaches back into the Notebook and calls setCurrentPage(). And what happens whenever the page is switched? The onSwitchPage signal is fired and that triggers the Notebook’s onSwitchPage() callback.

So, in effect, what we’ve done is harness one signal in one widget to fire another signal in another widget.
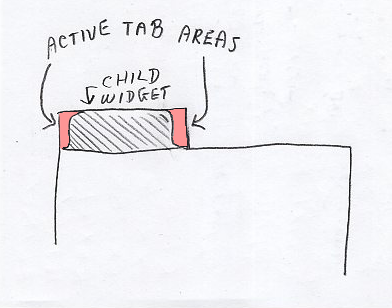
Have another look at the drawing from Blog Post #79. Remember, we talked about coming up with a workaround so the user can click anywhere on the tab and get the same results?
The onButtonPress callback is the final part of that solution to this dilemma.
Conclusion
In the third and final installment for this mini-series, we’ll look at the drawing code. See you then. Take care.
Comments? Questions? Observations?
Did we miss a tidbit of information that would make this post even more informative? Let's talk about it in the comments.
- come on over to the D Language Forum and look for one of the gtkDcoding announcement posts,
- drop by the GtkD Forum,
- follow the link below to email me, or
- go to the gtkDcoding Facebook page.
You can also subscribe via RSS so you won't miss anything. Thank you very much for dropping by.
© Copyright 2025 Ron Tarrant
